LÖTEN IST EINFACH (Soldering is Easy: German Translation)

I’m pleased to announce that we finally have a very nicely done German translation of the Soldering is Easy comic book.

A huge thanks to Alexander Bodora and Richard Meinsen for volunteering to do the translation!

I also updated the original comic to include a link to the Soldering is Easy comic book download page (http://mightyohm.com/soldercomic). I heard a couple requests for this at the Maker Faire last weekend – so there it is.

Rule 0

I note one of you has his hand and wants to ask a question. Go ahead. “What is our hackerspace’s philosophy?” you ask. Well I’m glad you asked that question as I was struggling to come up with an un-contrived way to work this into a blog post. You really saved my bacon.  Well our hackspace can been summed up with three sayings.

0) Don’t be on fire.

This embodies our essential and fundamental philosophical belief that each individual human should strive not to combust in an oxygen rich atmosphere. The rules of thermodynamics are against us, but with care we have so far managed to maintain this rule. We have enshrined this philosophy as our hackspaces rule 0, showing the reverence that we hold this axiom.

1) Well volunteered.

We believe in self-empowerment and also spreading out power among our members. So whenever someone suggests a project or problem that needs fixing they become responsible for implementing it.

2) Let me show you this neat thing.

We enjoy sharing our knowledge and projects with other people, this extends to young hackdays where we teach young kids about technology and how to make things.

I stumbled on this gem from London Hackspace while judging entries to the 2011 Great Global Hackerspace Challenge.

The five finalists from the ~30 hackerspaces that entered (not all listed here) will be announced soon!


Test Jig for the HV Rescue Shield

HV Rescue Shield Test Jig

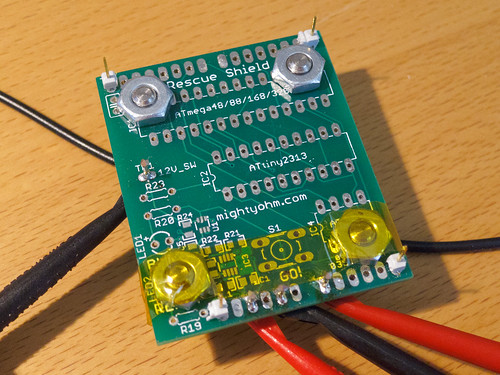
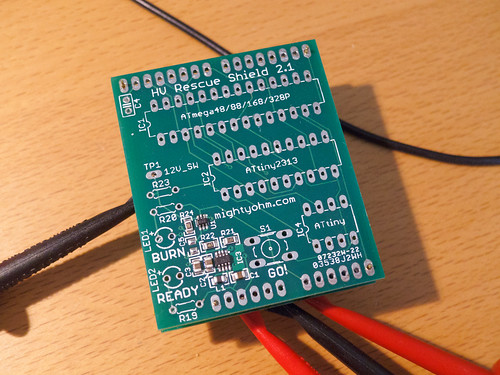
This weekend I threw together a simple test jig for the HV Rescue Shield.

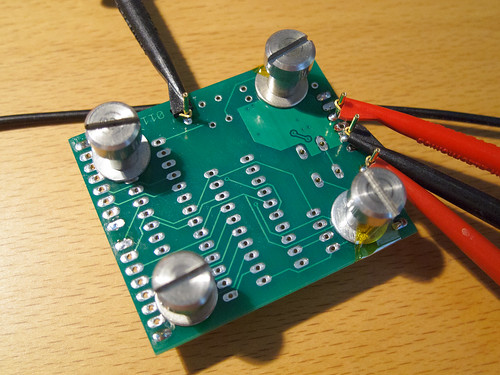
The completed jig is shown above.  There are four header pins, one at each corner, that are used to align the  BUT, or board under test.  The Kapton tape insulates the two bottom standoffs from shorting against the bottom of the BUT.

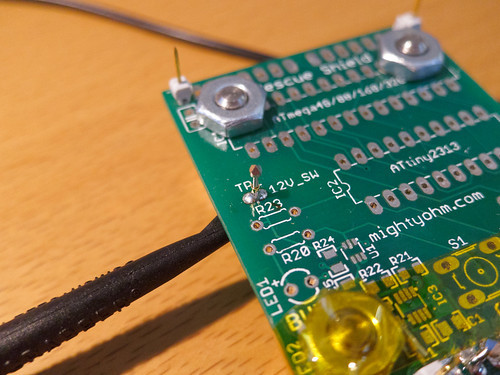
Pogo pins are used to make electrical connection to the BUT.  I connect to +5V, ground, 12V_EN, and 12V_SW (the +12V output).

These pogo pins are similar to the ones Ladyada uses in her test jig tutorial.  You can get these in a wide variety of styles on eBay. I think the ones I used are P75-K “chisel” type tips.  They just happen to fit into the existing holes in the PCB with no modification.

The height can be adjusted by melting the solder around the pogo pin and pushing it up and down.  I lost a couple pins when I pushed them down too far and let solder get into the spring mechanism.  Oops.

HV Rescue Shield Test Jig

The standoffs are made of reclaimed screws that I had lying around.  Right now I am connecting to the pogo pins with clip leads, but I might make a more permanent test setup someday.

HV Rescue Shield Test Jig

To test a board, I align it with the header pins and push down.  Easy.

Previously I was using something similar, but without alignment pins or standoffs, so it was challenging to align and push down the board-under-test with the pogo pins without the whole setup sliding around the bench.  The new jig works well and makes testing a large batch of boards a breeze.

BUT

Here’s my current testing setup.

Testing the HV Rescue Shield

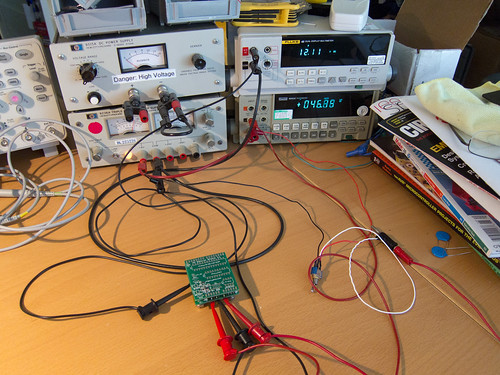
The output of the 5 to 12V DC-DC converter is shown on the top display (that’s my beloved Fluke 45 bench meter) while the power supply current is shown on the bottom.  The toggle switch on the bench just to the right of the jig is so I can toggle the 12V_EN line and make sure the DC-DC converter turns off too.

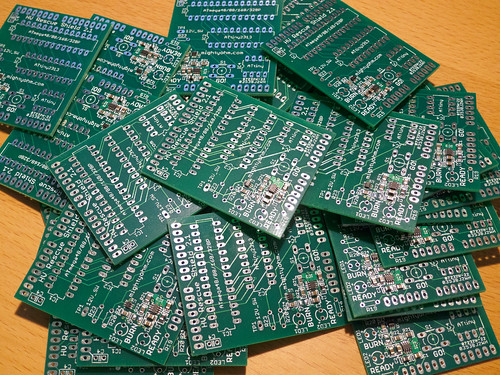
This board looks good, and so did 29 of his friends.  0% failure rate on this build!  I seem to have my process pretty much figured out now.

Tested boards