
Thanks to the Ukranian Maker Association, we now have a Ukranian translation of the Soldering is Easy comic book.
You can view this and the rest of the translations here.

Thanks to the Ukranian Maker Association, we now have a Ukranian translation of the Soldering is Easy comic book.
You can view this and the rest of the translations here.
Quick announcement: MightyOhm Geiger Counter Kits are currently on sale for just $99.95 at Amazon.com.
Happy Halloween!

Geiger Counter Kits are now on sale at Amazon.
PS. SBM-20 Geiger Counter Tubes and Rescue Shields are on sale too.
Sale ends 12/1.
I hope everyone is enjoying the summer. After several months of rain, we are finally enjoying a few weeks of sunshine here in Seattle.
To celebrate summer, the MightyOhm Geiger Counter Kit Bundle is now on sale at Amazon. This bundle includes the original MightyOhm Geiger Counter kit with high quality PCB and all the components you’ll need to build the kit, a laser-cut clear acrylic case, sensitive SBM-20 Geiger tube, and two AAA batteries. To build the kit, you’ll need a soldering iron and solder, some simple hand tools, and basic soldering skills.
These kits are perfect for anyone interested in learning something new this summer or looking for a fun back to school project.

Hello ToorCamp! I couldn’t make it to camp this year, but to celebrate the awesomeness that is ToorCamp and past Geiger Counter workshops, MightyOhm Geiger Counter kits are on sale now at Amazon.com.
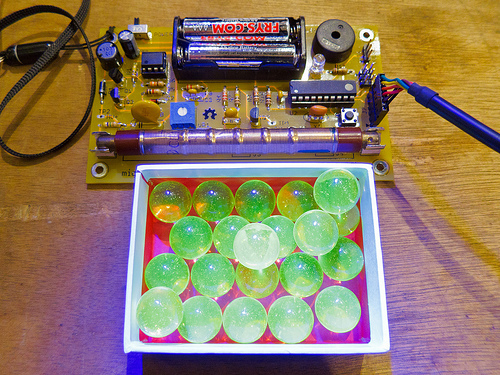
PS: As pictured above, this is one of my favorite ToorCamp memories.