Mitch Altman and I are in the process of writing a book about Making Cool Things with Microcontrollers (for people who know nothing.)
The book features several DIY projects that use AVR microcontrollers. We’re aiming to teach absolute beginners how to solder, basic electronics, and the process of turning a cool idea into reality by using microcontrollers.
I wrote these instructions about setting up a working avr-gcc environment in Windows, Mac OS X, or Linux. Mitch and I felt that they could use some beta testing in the real world before bring included in the book, so we decided to make them available here. We also felt that they might help some people get started with AVRs before the book is available.
We want to make the process of writing and compiling code for the AVR simple and accessible, so we’re not using any fancy IDEs (eg. no AVR Studio). We also wanted to use the same software on all three operating systems, so Windows-only tools were out. Instead, we’re using avr-gcc, the compiler behind WinAVR, CrossPack, and Arduino.
I would appreciate any feedback on these instructions.
AVR Toolchain Installation Instructions – Mac OS X
Note: At the time of this writing, following the step-by-step instructions below will result in a working AVR toolchain being installed on your computer. However, computers, operating systems, and software are constantly changing. This means that while these instructions are valid today, they may not be by the time you read this. If you run into trouble, fear not! Entering a few carefully chosen keywords into your favorite search engine will often yield just the information you need to resolve the issue.
Installing the AVR toolchain on OS X is fairly straightforward, thanks to a software bundle called CrossPack. CrossPack, which is similar to WinAVR for Windows, includes all of the software you need to get started working with AVR microcontrollers in one easy to install package.
The instructions below were developed and tested with Mac OS X Snow Leopard 10.6.4 and CrossPack version 20100115. CrossPack should run on PowerPC and Intel-based Macs. It requires approximately 100MB of hard drive space and OS X 10.3 or higher.
To install the AVR toolchain within Mac OS X:
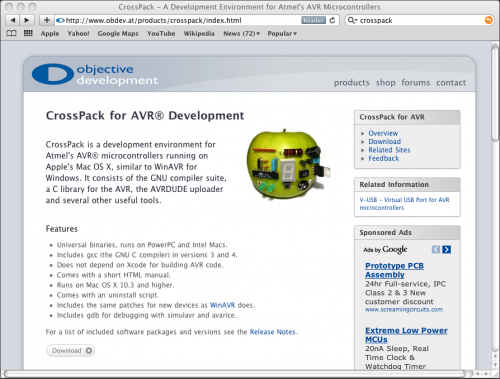
1. Open your favorite web browser and visit the CrossPack website at http://www.obdev.at/products/crosspack/.
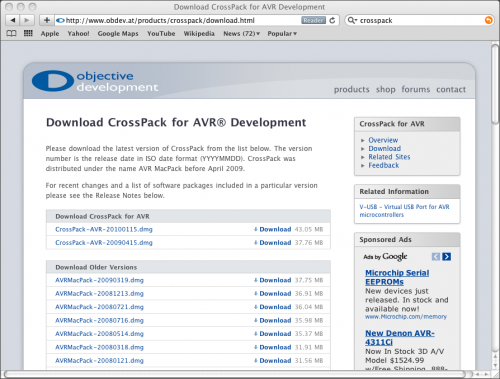
Click the Download button and find the latest version, which at the time of this writing is CrossPack-AVR-20100115.dmg. Click to download the disk image (dmg) file and save it to your computer.
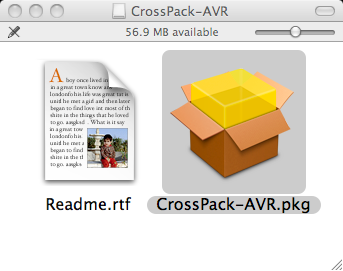
2. Wait for CrossPack to download. If you are using Safari, the disk image should open automatically. Otherwise you may need to find the file on your hard drive (try looking in your Downloads folder) and double-click to open it.
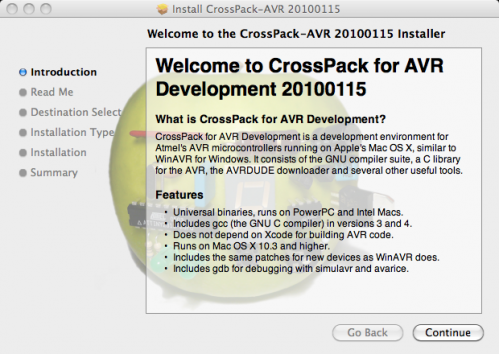
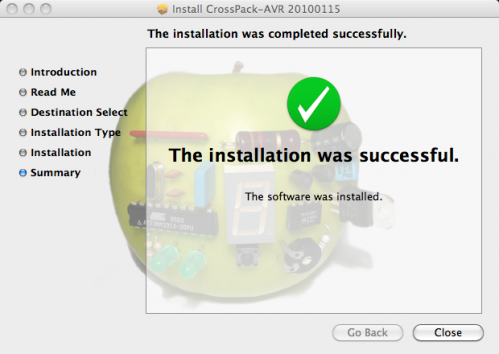
Once the disk image has opened, double-click CrossPack-AVR.pkg to install CrossPack. The package installer should open.
You can install with the default options. Click Continue to start the guided setup. A few clicks later, and CrossPack should be installed on your Mac. Close the installer.
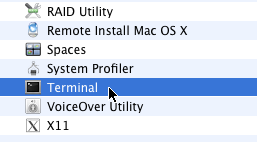
3. Open a Terminal window. You can do this by opening a Finder window and browsing to the Utilities folder inside Applications. Double-click on the Terminal application to open it. (You can also launch Terminal with Spotlight.)
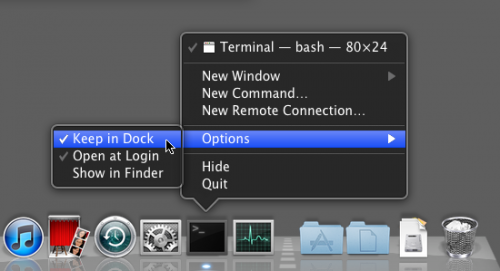
To make it easier to open in the future, right click on the Terminal icon in the Dock and select Options -> Keep in Dock.
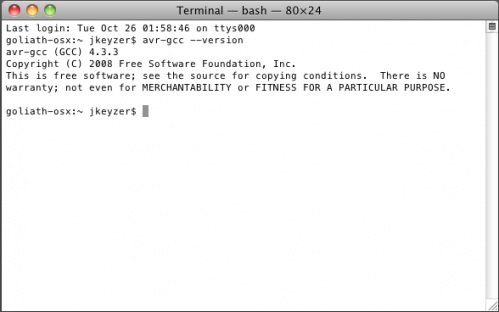
4. You can test the installation by entering the command
avr-gcc --version
You should see the response
avr-gcc (GCC) 4.3.3
and a copyright notice. Note that the version number might be different.
5. OS X includes built-in drivers for the Adafruit Industries USBTinyISP. If you are using the Atmel AVRISP mk II, substitute “avrisp2” for “usbtiny” in the command below. If you are using another programmer, follow the manufacturer’s instructions or consult your favorite search engine.
To test the USBTinyISP, plug it into an open USB port. When used with OS X, the programmer’s green LED may not immediately turn on. It should be on after executing the command below.
Type the command
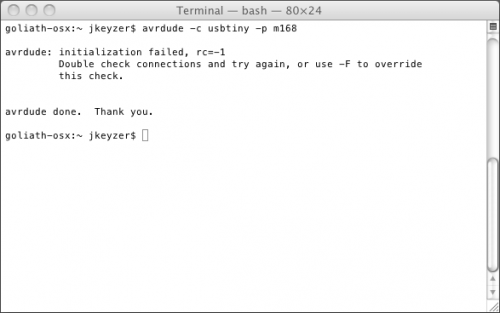
avrdude -c usbtiny -p m168
and press enter while you watch the USBTinyISP’s red LED. The red LED will flash once and you should see the following message:
avrdude: initialization failed, rc=-1
Double check connections and try again, or use -F to override
this check.
avrdude done. Thank you.
If you don’t see the red LED flash, try executing the command again. The LED flashes quickly and is easy to miss!
If you see the error message
avrdude: Error: Could not find USBtiny device (0x1781/0xc9f)
avrdude done. Thank you.
double check your USB connections.
The initialization failed error shown above is not a problem, it is displayed because there is no microcontroller connected to the programmer. At this point, if the red LED flashes, the programmer is working.
This completes the OS X AVR toolchain installation. You are now ready to start programming microcontrollers!

I might mention how to use this with something like an Arduino Uno where you do not need an external programmer to upload a .hex because of the smart bootloader.
for the AVRISP MKII programmer, i found that I needed to specify a port as well, like this:
avrdude -c avrispmkII -P usb -p m328p
You might also want to point out that you’ll use -p m168 for the Atmega 168
or -p m328p for the Atmega 328