
Ready to assemble your case? Ok, let’s go! These instructions will show you how. Case assembly should take about 5-10 minutes, more if you want to swap out the existing mute button on your geiger counter for the new microswitch included with the case.
There is also a printed version of these instructions included with the Geiger Counter Assembly Instructions.
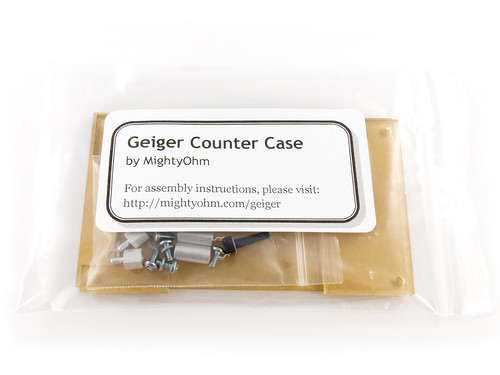
1. Empty the case kit on your workbench. You’ll find two cover plates and a bag of hardware.
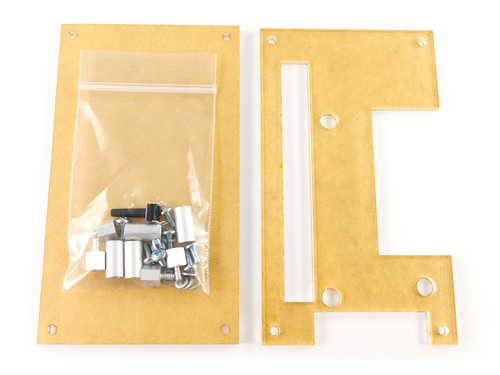
2. Open the bag of hardware and make sure you have all of the following parts:
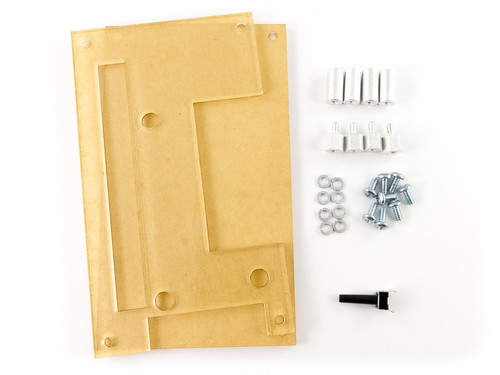
- 1 top plate (with the cutouts)
- 1 bottom plate
- 4 short hex standoffs
- 4 longer round standoffs
- 8 screws
- 8 lockwashers
- 1 microswitch with long (17mm) shaft
You’ll also need one assembled geiger counter kit.
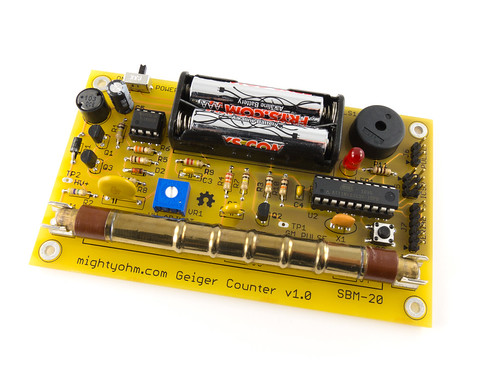
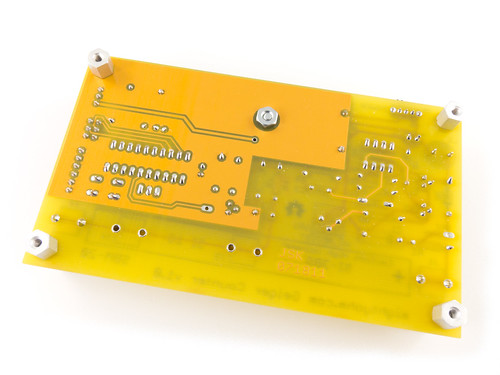
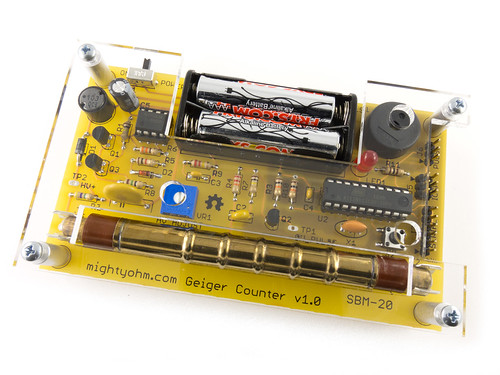
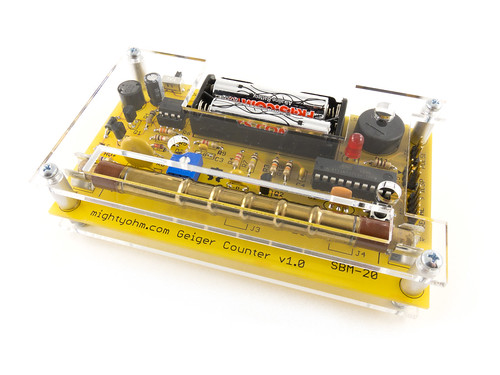
3. Install the standoffs. The longer round standoffs go on top of the board, and the shorter hex standoffs screw into them through the bottom of the PCB, as shown. Repeat for all four corners of the board. Finger tight is ok, just make them snug.
With the standoffs installed, the bottom of your kit should look like this:
4. Remove the paper backing from the bottom cover plate. Use your fingernail, not anything metallic or sharp, because the acrylic scratches fairly easily.

5. Secure the bottom plate to the hex standoffs with a screw and lockwasher at each corner. Tighten the screws until they are snug. Don’t overtighten – if you do, you will crack the acrylic.
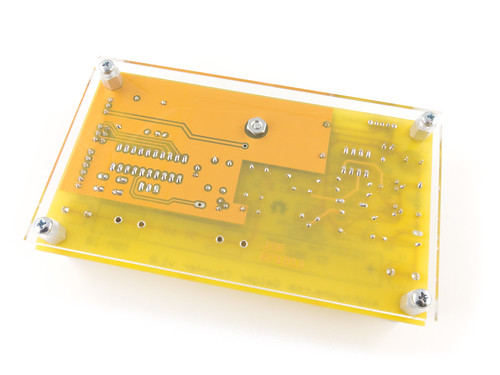
6. Turn the kit over and install the top plate with the remaining screws and lockwashers. Don’t overtighten the screws!
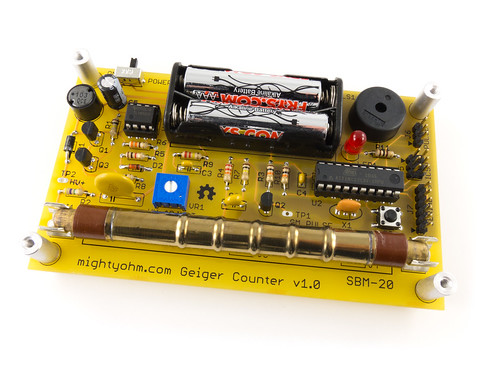
You’re done!
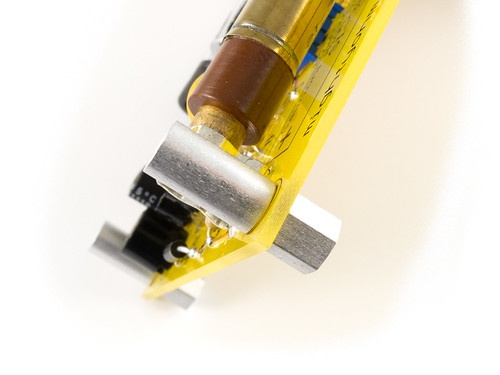
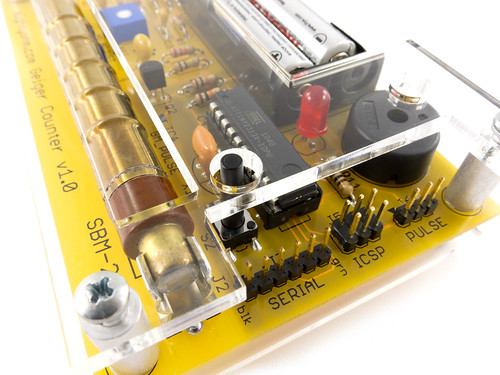
Optional: Replace the microswitch S2 on your geiger counter with the one that is included with the case. The replacement switch has a long shaft that protudes above the top plate of the case.
Here’s one way to remove the old switch:
Remove the top and bottom plates. Cut each of the four leads of the old switch with flush cutters near the switch body. Remove the switch body and individually desolder each of the four leads where they pass through the PCB. Clear any remaining solder from the PCB holes, install the new switch, solder the leads, reinstall the case, and you’re done!
Just finished building this great looking kit. Instructions were clear/concise. Unit worked out of the gate. Thanks!