APRS Tracker

APRS Tracker

This week, my brother is relocating from the San Francico Bay Area to Texarkana, Texas.  I’m helping him move, so for the next two weeks we’ll be on a road trip through California, Arizona, New Mexico, Texas, and maybe a little bit of Oklahoma.  We’re planning to see the Very Large Array, visit Truth or Consequences, and check out The Black Hole in Los Alamos.  That is, if the trailer stays connected and we don’t break down too many times on the way.

I though this would be a good opportunity to dust off my APRS tracker so friends and family can watch our progress.

What is APRS?

APRS, short for Automatic Packet Reporting System, is a radio network that uses amateur radio frequencies to relay short messages.  Think of it as a precursor to twitter, developed 20+ years ago by Bob Bruinga, WB4APR.  The messages usually contain GPS coordinates, and they are relayed via radio to internet connected stations that send the data to the APRS-IS network.  Database servers, such as findU, cache the packets so that client software can access them without needing a radio or realtime access to the network.

The coolest client I have seen so far is aprs.fi, a clever mashup of APRS and Google Maps:

APRS map of San Francisco

The hardware:

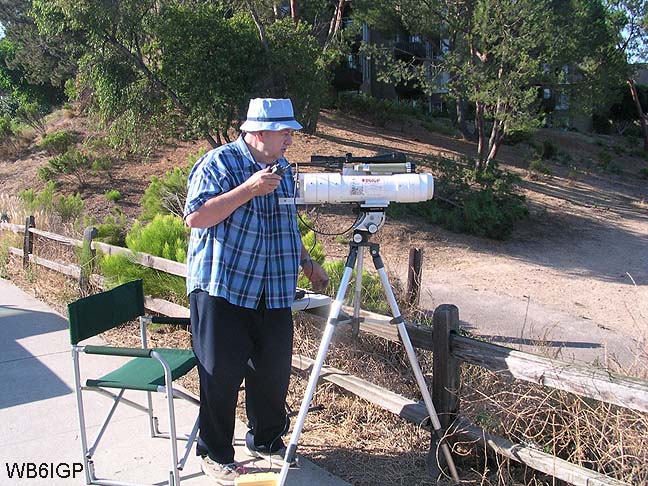
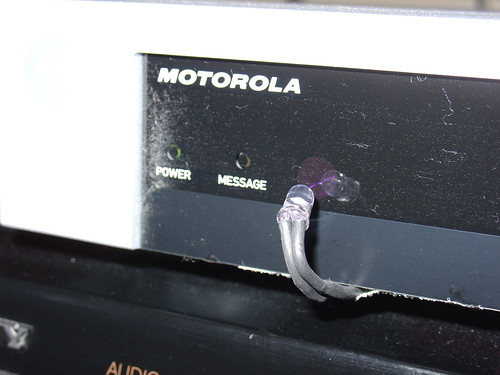
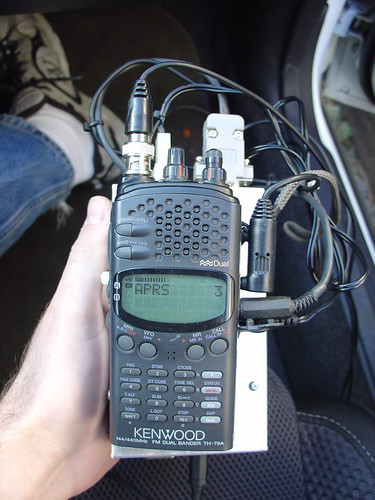
I made this APRS tracking box a couple years ago, so I’m a little fuzzy on the construction details, but it consists of the following parts:

  • A Trimble ACE III GPS module, originally used in a police car, $5 on eBay.
  • An external mag-mount powered antenna for the GPS that I found at HSC, also $5.
  • A Tinytrak3+ microcontroller-based APRS encoder and modem, $30
  • My old Kenwood TH-79A handheld 2 meter/144-148 MHz ham radio
  • A mag mount whip antenna for the HT, found at the electronics flea market.
  • An aluminum box, probably the most expensive part.
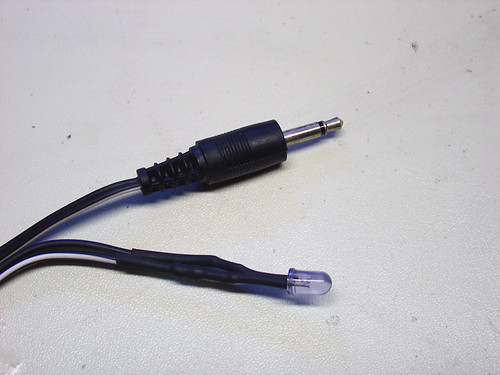
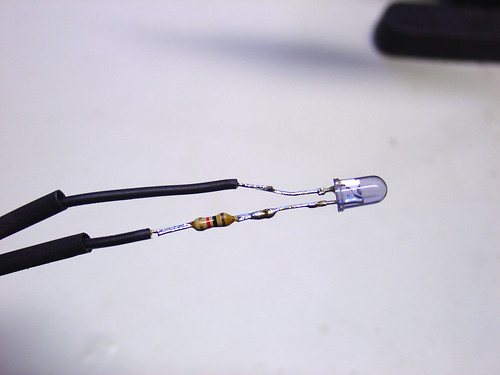
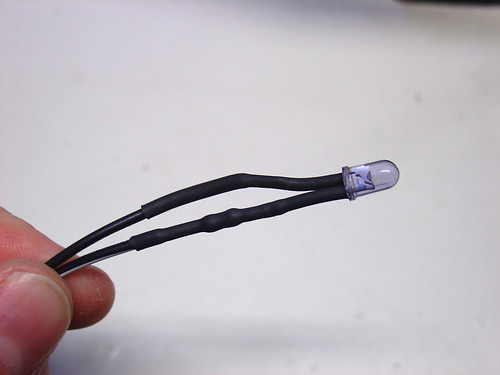
  • Some cables to glue all the pieces together, mostly salvaged from my junk box.

The APRS tracker acquires a GPS fix and the current GPS time.  Every so often (fully configurable), it transmits my position over the radio, where it is received by other APRS relay stations in the area.  Speed, direction, and altitude are also included with the position packet.  I connected a piezo buzzer to the TX signal so I hear a beep when the position is transmitted.  Within a few minutes, a point corresponding to the position shows up on the map at aprs.fi or in the findu database.

It’s really neat to play with, especially on long trips.  On a trip to Moab two years ago, my position was received by the APRS network even in areas with no cell coverage, which included most of Utah!

Note that to use the APRS system, you need to have an amateur radio license.  If you’ve ever been interested in amateur radio, this is a really good reason to get your license and start experimenting!

Cadsoft Eagle Support Forums

Twitter users, sorry for the link spam, but I thought this was valuable enough to stick up on the blog!

Anyone who uses Eagle will be happy to know that Stratford Digital is hosting a web forum version of the Cadsoft support newsgroups.  In their native format, the Cadsoft newsgroups require an NNTP newsreader – hats off to anyone who actually has one installed these days (I use MT-NewsWatcher on the Mac).

EAGLE Enterprise Toolkit Forums

Chuck Houghton – WB6IGP

Chuck WB6IGP operating his lasercom system

Ed. note: This is a guest post by a good friend of mine, Tony Long, KC6QHP.  Hopefully Tony will be contributing more to the blog in the future and we’ll get to see some of the interesting things he’s working on in his lab in SoCal.  Let’s all welcome Tony to the blog! – Jeff

By 1995 I had been a licensed ‘ham’ for 4 years.  I was in the 11th grade and interested in a putting together a far-out science fair project.  Over the next two years I worked with two hams, mentors, and friends to get the project done.  One of them was Chuck Houghton, WB6IGP.  He and Kerry Banke N6IZW started the San Diego Microwave Group back in the 1980’s.  What they started was an informal group that still meets in the garage at Kerry’s house in La Mesa once a month to talk about and work on microwave ham radio projects.  This group has been highly influential in the interests and careers of myself and Jeff.  We both went to college in San Diego and attended these meetings and just as importantly, had a great source of parts and articles from Chuck.

Chuck, who was 68, passed away peacefully in his home on April 29th.

Chuck and Kerry started out on the microwave bands by using surplus microwave burglar alarm systems and modifying them for amateur radio use.  Chuck was in some ways an early version of many DIY electronics bloggers of today.  He not only did experiments, and built interesting projects, he wrote about them, told others how to do it, and supplied printed circuit boards, kits of parts, and so on.  He wrote a monthly column in 73 magazine and later in CQ-VHF detailing his experiments.   His reach was worldwide, and no doubt has enabled the microwave amaetur radio hobby to flourish.

So, to Chuck I bid a farewell and 73.  You will be missed but you will be remembered well!

-Tony KC6QHP

DIY TiVo IR Blaster

DIY TiVo IR Blaster

Recently I discovered that our local cable provider will soon be discontinuing analog cable service for most channels.   Because of this they are forcing encouraging customers to get new cable boxes and upgrade to digital cable.

I hate cable boxes.  More than just another piece of equipment to find a place for near the television, cable boxes waste power, always seem to take forever to change channels, contribute to the ball of wires behind the entertainment center, and add another remote control to the coffee table.

Most importantly, a cable box prevents our old Series 2 TiVo from being able to change channels directly, since it now has to negotiate with the digital cable box to receive TV signals.

TiVo provides a workaround for this – the infamous IR blaster.

I would love to meet the engineer who came up with the IR blaster.  Instead of pushing for a universal protocol to electrically connect cable boxes to things that may want to control them, some engineer came up with the incredibly stupid great idea to stick an IR LED in front of the IR receiver of the cable box and use it to simulate a handheld IR remote control.  The cable box thinks that the user is punching away at the remote (with lightning speed) while in reality a microprocessor is generating the remote codes and sending them to the LED.  It’s both ingenious, and at the same horrific in so many ways.  It grates against my engineering sensibility.  What manager approved this?

Back to the TiVo.  The IR blaster that came with our TiVo was lost long ago, in a time when no unnecessary electrical-optical-electrical sillyness was required for it to function.  Rather than spend $3 on eBay and wait a week to get a replacement, I decided to make one out of spare parts in my junk bin:

  • an infrared (IR) LED
  • a 1k resistor (not sure if this is necessary, safety first)
  • a 1/8″ mono headphone plug with a couple feet of cable attached
  • some heatshrink tubing
  • duct tape

I don’t know if the resistor is required – the TiVo may already have an internal resistor.  I used 1k, if I see any problems with the cable box getting an intermittent signal I’ll try lowering the resistor to 330 ohms.

The tip of the 1/8″ mono plug is positive.  I connected the tip wire to the side of the LED with the longer lead (the side opposite the flat side of the LED).

DIY TiVo IR Blaster

I tested the circuit by applying 3-5V to the 1/8″ plug (tip is positive) and used my digital camera to check if the LED is working.  My camera has a decent IR blocking filter so I had to use nightshot mode to see it:

DIY TiVo IR Blaster

Finally, I put heatshrink over the LED connections and the resistor to avoid short circuits:

DIY TiVo IR Blaster

Back in the living room I plugged the DIY IR blaster into the jack marked ‘IR’ on the back of my TiVo.   A strip of duct tape to secures the wires to the bottom of the cable box.  I bent the LED up to point at the cable box’s IR receiver (the purple dot shown in the really bad photo below, sorry).

DIY TiVo IR Blaster

All that was left was to configure the TiVo using the cable box setup guide.  Within a few minutes I had my TiVo controlling the cable box.  The DIY IR blaster works perfectly!

Not bad for $0 in parts (all stuff from my junk bin) and a few minutes of soldering.

Update November 2016: In the vast majority of applications, the series resistor is not required. The majority of IR blaster circuits built into A/V equipment (and video game consoles such as the Xbox) include built-in current limiting circuitry that makes the resistor unnecessary.

Join the resistance.