After being hassled by Chris about my audio quality on The Amp Hour for the past year, I finally broke down and upgraded my podcasting microphone setup. Here are some photos of the new setup and some notes about my approach.
Here are most of the big (expensive) parts. Clockwise from the upper left:
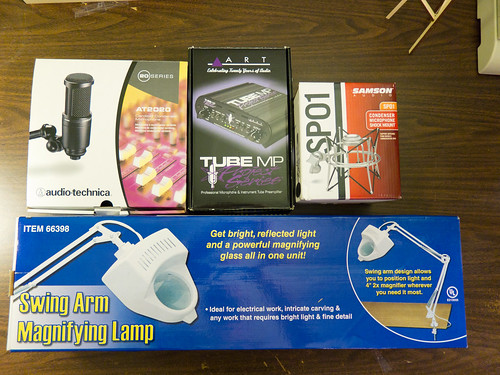
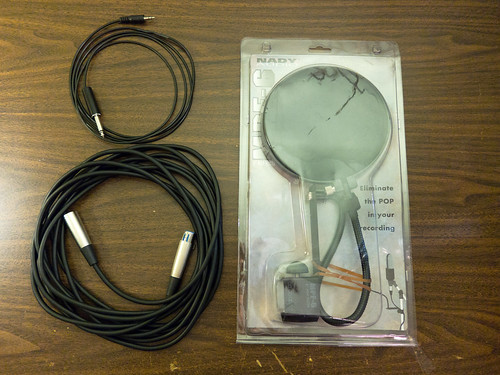
A few more miscellaneous bits:
I got the idea to convert a swing-arm desk lamp (often called an Architect’s Lamp ) into a mic boom from the awesome site IKEA Hackers. (Today I discovered that ham radio guys have been doing this for years.)
The closest IKEA is 40 minutes away, so instead I went to Harbor Freight Tools and bought the cheapest swing arm lamp I could find. I removed the lamp portion (after you remove the adjusting knob, the shoulder-bolt can be removed and the lamp pulls out). Then I cut the power cord and unthreaded it from the lamp.
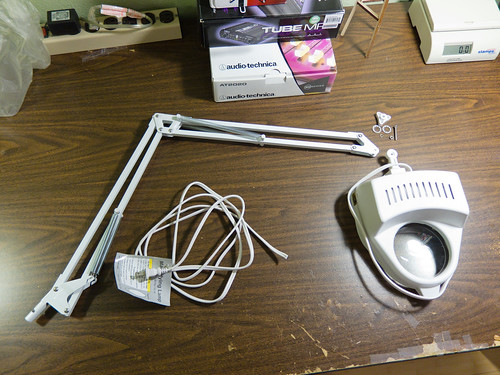
The swivel mount on the Samson SP01 comes apart easily, exposing a handy flat mounting tab that could be used to bolt the spider mount to all sorts of things…

…including the desk lamp. I used a 1/4″ nylon spacer to fill the gap left by the narrow tab on the shock mount and some lock-washers to keep the mount from rotating when the adjustment is tightened. The original shoulder-bolt stripped (oops) so I replaced it with a beefier 10-32 bolt and corresponding nut.
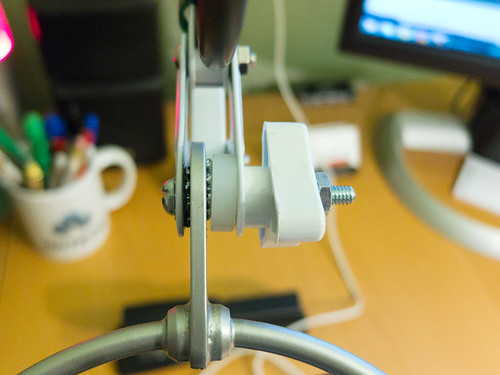
While my initial tests with just the AT2020 mic were promising, I found that the swing-arm sagged under the extra weight of the shock mount. To solve this problem, I drilled two extra holes at 1″ intervals from the original spring perch on the swing-arm. This allows me to adjust the spring tension to balance the arm. Now the mic stays where I put it.

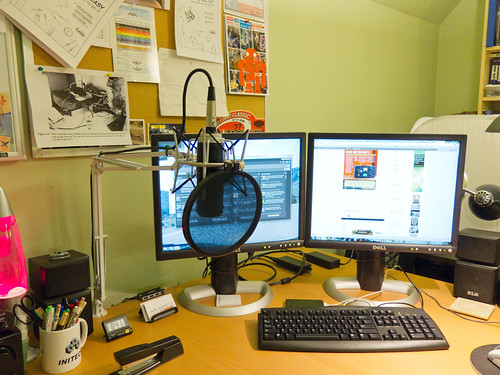
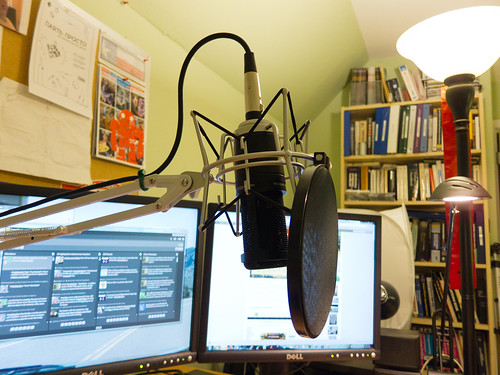
Here is the finished setup. I removed the heavy bracket and gooseneck from the pop filter and zip tied it to the front of the shock mount. The spacing between the pop filter and the mic comes out just about right.
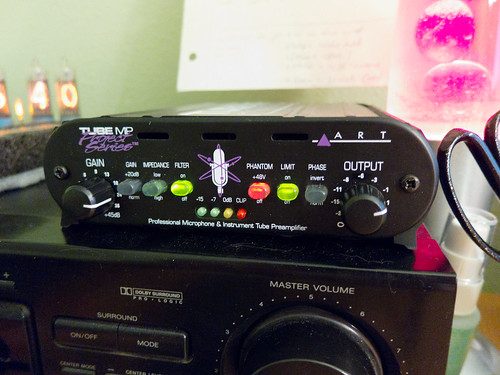
Here’s the mic preamp. It’s got tubes! The microphone connects to the preamp through the XLR cable. The output of the preamp is connected to my PC’s line input through the junkbox 1/4″ to 1/8″ cable.
The best part about the swing arm setup is that when I’m not using the microphone, I can just swing it out of the way:
I’m really happy with the new setup, but you can judge it for yourself on this week’s episode of The Amp Hour (Xenomorphic Xerox Xebec).

