Tag Archives: photos

Printed Circuit Board Photo Collage Screensaver for OS X

OS X Flickr PCB Pool Screensaver
PCB Photo Pool Screensaver

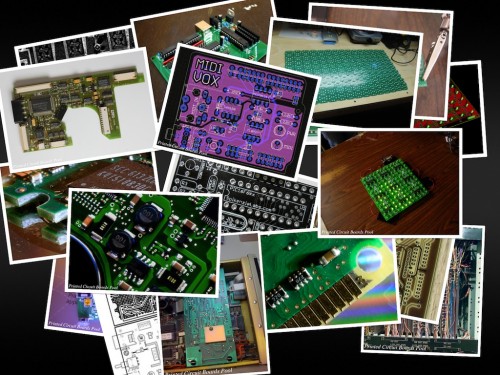
One of my favorite ways to keep tabs on the Printed Circuit Boards Group on Flickr is with OS X’s built-in ability to turn an RSS feed into a screen saver, as shown above.

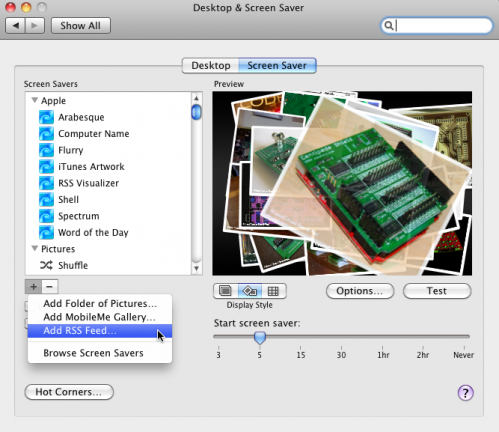
To create this cool and constantly changing screen saver, open the “Desktop & Screen Saver” pane of the OS X System Preferences, as shown below.

Desktop & Screen Saver Preferences

Click the + button and select “Add RSS Feed…”  OS X will prompt you for an RSS feed URL to use for the screen saver.  Enter

http://api.flickr.com/services/feeds/groups_pool.gne?id=812901@N20&lang=en-us

and click OK.

Make sure that the Display Style is set to “Collage” mode (the center option) as shown above.  Click Test and you should see photos from the pool appear on your screen.  Now the next time your screen saver activates, you should see a collage of cool photos from the PCB photo pool.

That’s it!

PS. If anyone knows of an equivalent screen saver for Windows or Linux, please let me know in the comments.  I don’t want OS X users to have all the fun!

Test Equipment Pr0n: The HP 3312A

A few weeks ago, I purchased an HP 3312A 12MHz function generator for the lab.  After living without a decent signal source for years, I figured that it would bepo handy to have a good general purpose function generator around.  A quick visit to eBay and a few clicks later, one was on the way.

Unfortunately, when I first powered it up, the output was clamped to one supply rail and the sync output was giving me a much-too-large, out of spec voltage swing.  D’oh!

The generator was sold as-is (like most test equipment on eBay), so I decided to take a crack at fixing it myself.  Armed with a barely intelligible, poorly scanned-faxed-photocopied copy of the 3312A service manual that I downloaded from Agilent’s website, I loosened two captive screws and slid the top and bottom covers off the unit.

What I found inside really blew me away.  What follows are some snapshots of the unit.

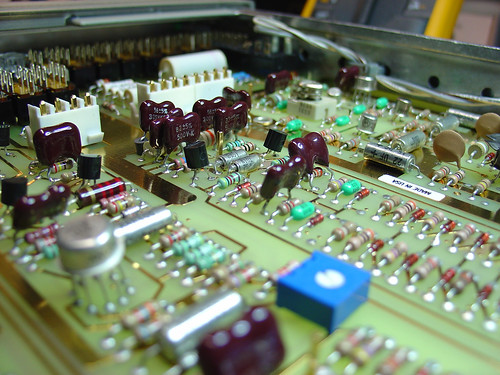
The 3312A is the most elegantly designed and well-preserved piece of electronic test equipment I that have ever owned.  The circuit boards, which look brand new, use entirely two-layer  through-hole construction and are laid out with generous component spacing and helpful silkscreen labels.  There is no inter-board wiring to prevent quick removal of any of the PCBs; all of the wiring harnesses use straightforward connectors.  Connections between the top and bottom PCBs are via clever gold plated removable posts that extend through the center panel of the instrument chassis.  The chassis itself, which is cast aluminum, is light but sturdy.  Every aspect of the instrument design appears to have been carefully thought out and is perfectly executed.

Here’s the 3312A on the bench, ready for some serious troubleshooting action:
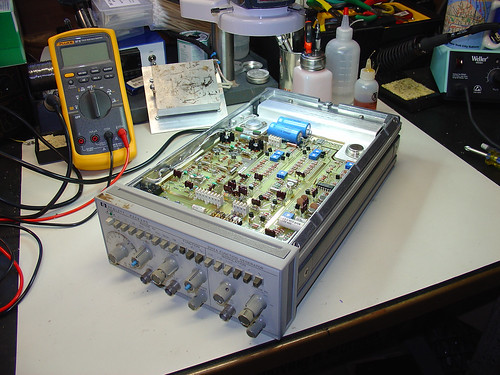
HP 3312A Repairs

The aforementioned aluminum chassis.  Very nice!
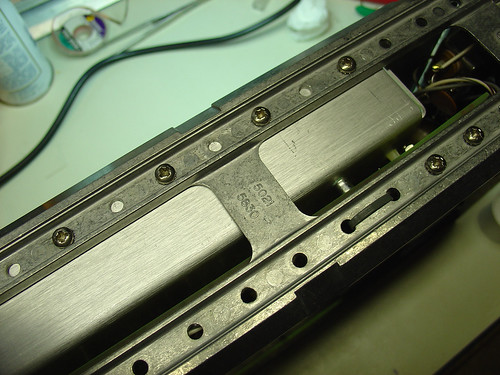
HP 3312A Repairs

When I flipped the generator over, I immediately noticed a problem.  Here are the remains of four 200 ohm, 1W carbon resistors, burnt to a crisp:
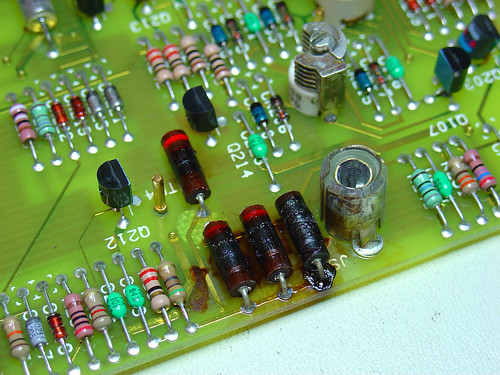
HP 3312A Repairs

These resistors provide an internal 50 ohm termination for the sync output, and explain why the sync voltage swing was out of spec.  A quick trip to Jameco for some new 200 ohm power resistors and the sync problem was fixed.

The broken main generator output took some more serious troubleshooting.  One of the emitter follower transistors that drives the push-pull output driver was burning hot to the touch and a good candidate for replacement.  An hour of troubleshooting with the diode test function of my Fluke 87V identified one of the push-pull transistors had failed as well.  This is the device that had failed short and was clamping the output voltage to the -15V supply rail.

The final push-pull drivers are shown here; they are the two devices with the largest heatsinks.  The emitter followers are the two metal can transistors just to the left.
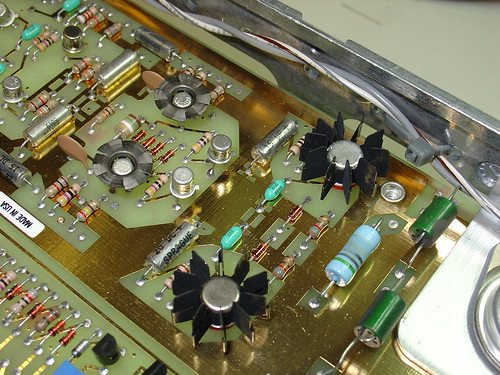
HP 3312A Repairs

I was able to find suitable replacements for the failed transistors at Jameco.  Neither of the original devices were still available but I was able to find some devices that were “close enough” by examining a few datasheets and cross reference guides.  With the faulty output devices replaced, the generator powered up and was good as new!

Here’s another couple shots of the main PCB.  Gorgeous gold-plated traces and component layout, and some pretty components too:
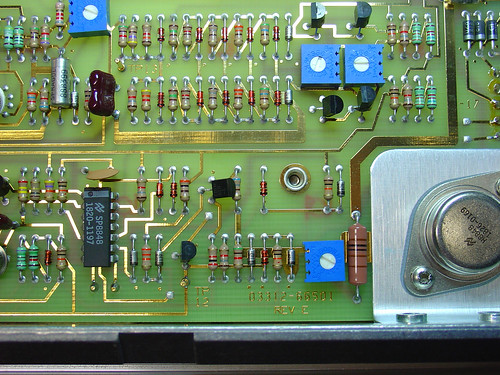
HP 3312A Repairs

HP 3312A Repairs

Here’s a shot of the inside of the generator with the top (modulator) PCB removed so you can see the header posts that connect the top and bottom PCBs.  The center aluminum plate that holds the pins in place is also removable.  This allows for rework of components on the bottom (main) PCB without disassembling the entire instrument.  Cool!
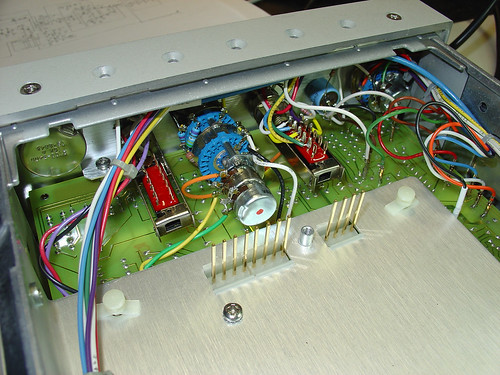
HP 3312A Repairs

Want to see more?  Check out the 3312A repairs album on flickr!
Kit Building Party Photos & Video

This weekend I hosted a post-Halloween kit building party at MightyOhm HQ.

Nine close friends built Conway’s Game of Life kits from Adafruit Industries.  This is my favorite kit for these kinds of workshops because it’s easy for beginners to complete in about 2 hours, and when everyone is done, you can wire all of the kits together to create one large cellular automata display.  The last time I helped people build this kit was at a Make:SF workshop at the TechShop in Menlo Park.

Here’s a timelapse video of the afternoon, shot with a Logitech QuickCam Vision Pro webcam on an Eee PC 4G running Booru Webcam 2.0.

The capture interval was 5 seconds.  I used Quicktime Pro to stitch the images together at 15fps and iMovie to add titles and music (Turbo Outrun by FRP from remix.kwed.org.)

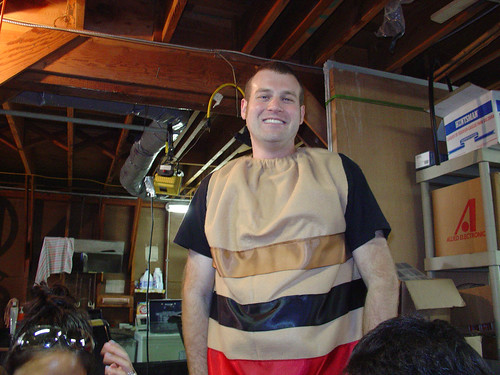
I wore my Halloween costume for most of the afternoon.  What am I?  Most people on the streets of San Francisco had no idea…

Kit Building Party

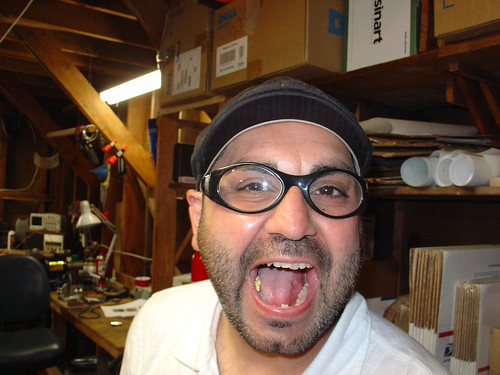
Safety first!
Kit Building Party

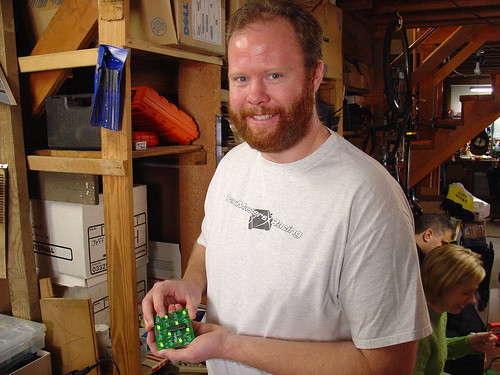
Stuart was the first to finish his kit:
Kit Building Party

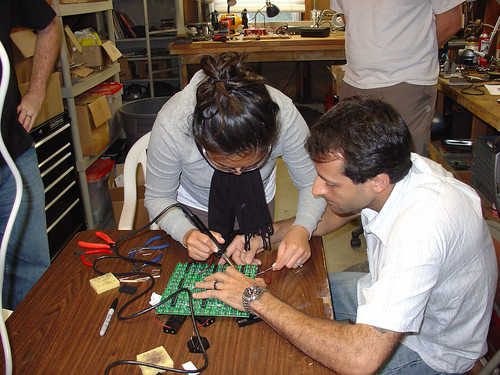
Soldering the kits together to form the matrix:
Kit Building Party

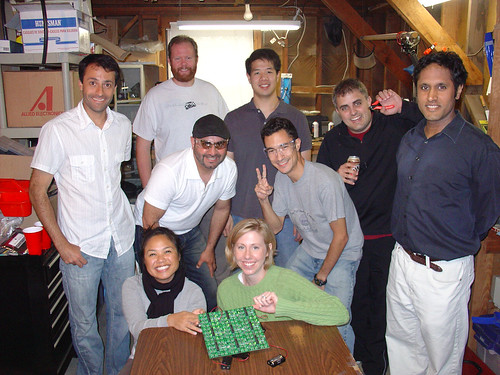
Nine happy kit-builders with the 3×3 matrix they created with their finished kits:
Kit Building Party

And lastly, a video of the 3×3 matrix in action:

Three people had little to no soldering experience at the beginning of the afternoon.  Everyone who came went home with a working kit.  Success!

Sneak peek at my finished Wifi Radio project!

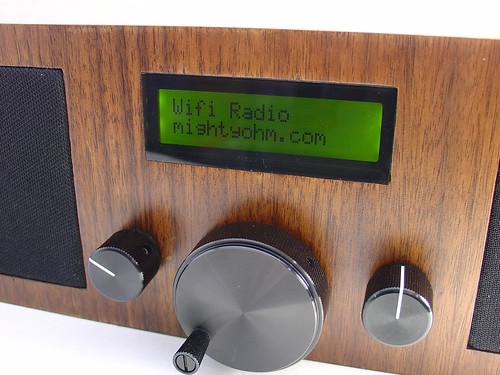
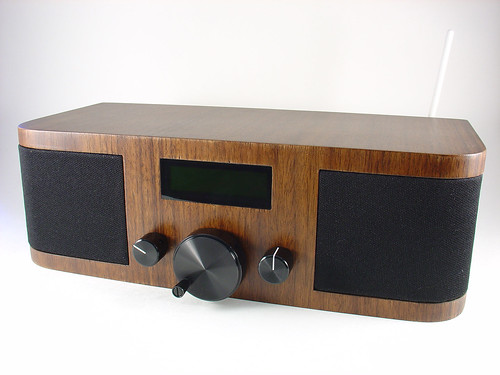
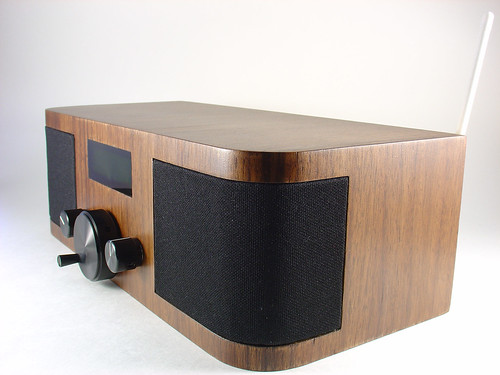
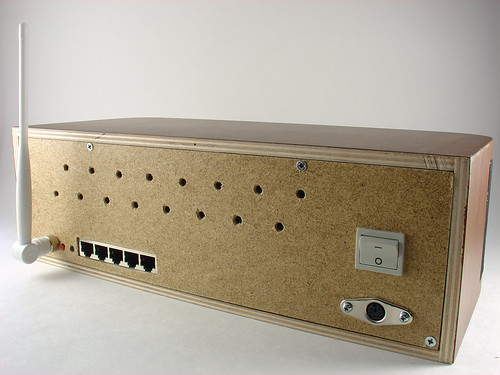
While I’m busy working on part ten of my series on building a wireless router-based DIY streaming internet radio, I couldn’t resist sharing a few photos of the finished project.

If you want to see the radio in person, stop by Expo Hall Booth 166 at the Maker Faire in San Mateo, CA this weekend.  I’ll be there to demonstrate the radio and answer questions!

Finished Wifi Radio< Finished Wifi Radio

Finished Wifi Radio

Finished Wifi Radio

Flickr Printed Circuit Boards Photo Pool Hits 100 Members!

100 wonderful, amazing people have joined the Flickr Printed Circuit Boards Group since I launched it in July of last year!

The pool features over 400 pictures of printed circuit boards, many of them CC licensed.  There’s a little bit of everything, from homebrew board fab to PCB jewelry and even miniatature cityscapes.

If you have some cool PCB images of your own, add them to the pool!

One of my favorites: Car Park or Printed Circuit Board?

Flickr PCB Photo Pool